Blender Commands
Years:
Viewport Navigation Commands
Orbit = Hold Mouse Wheel Click and Drag
Zoom = Scroll Mouse Wheel
Pan = Hold Shift + Mouse Wheel Click and Drag
Fine Zoom = Hold Ctrl + Alt + Left Click and Drag
Snap to Front Orthographic = Numpad 1
Snap to Side Orthographic = Numpad 3
Snap to Top Orthographic = Numpad 7
Look through Active Camera = Numpad 0
Focus Viewport to Selected = Numpad .
Snap 3D Cursor to Scene Origin = Shift + C
Useful Miscellaneous Commands
Command Lookup = Space Bar
Undo Previous Action = Ctrl + Z
Cancel Current Command = Escape or Right Click
Add / Remove from Selection = Shift + Left Click
Select Chain = Ctrl + Left Click
Select Edge / Face Loop = Alt + Left Click
Select All = A
Deselect All = Left Click empty region or Double-tap A
Box Select = Hold Left Click and Drag
Activate Circle Select = C
Model Shading Mode = Z
Affect X axis only = Press X while a command is active
Affect Y axis only = Press Y while a command is active
Affect Z axis only = Press Z while a command is active
Set 3D Cursor location = Shift + S
Fine Value Control = Hold Shift while dragging the mouse to influence a value
Common Modeling Commands
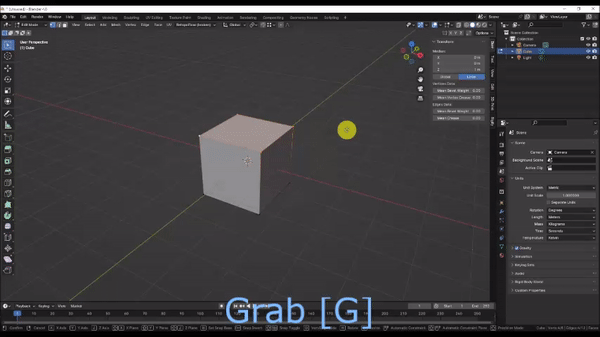
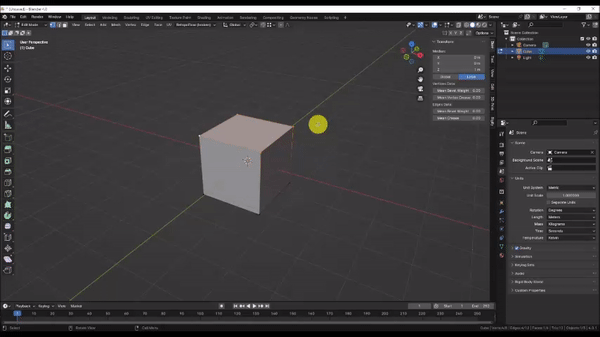
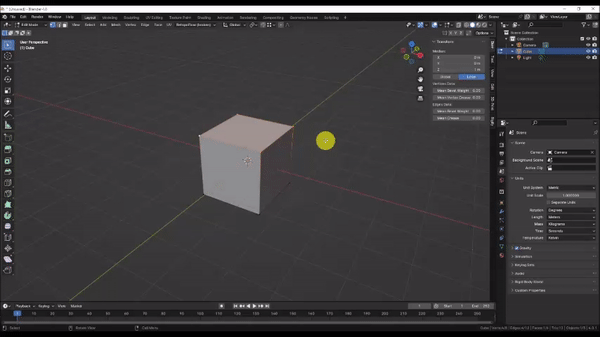
Grab: Moves the selection in 3D space. Works for Vertices, Edges, and Faces
Rotate: Rotates the selection in 3D space. Works for Vertices, Edges, and Faces
Scale: Grows or shrinks the selection in 3D space. Works for Vertices, Edges, and Faces
Loop Cut: Divides existing geometry into equal segments along a chain of 4-sided faces (known as “quads”). You can scroll the mouse wheel to increase or decrease the number of divisions. Works on unfilled edges.
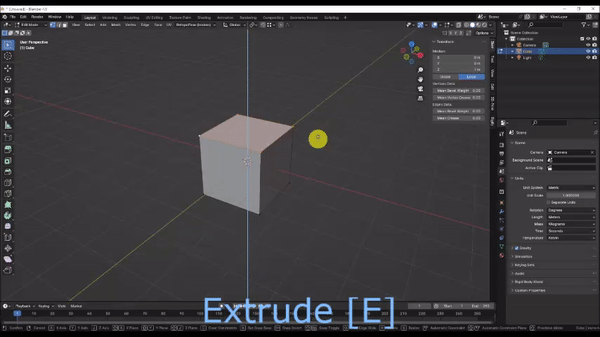
Extrude: Creates new geometry from selection. Works on vertices, edges, and faces. Note that new geometry is created immediately upon activating this command. Canceling the command will leave behind troublesome duplicate geometry. You must undo the action to prevent the creation of duplicate geometry.
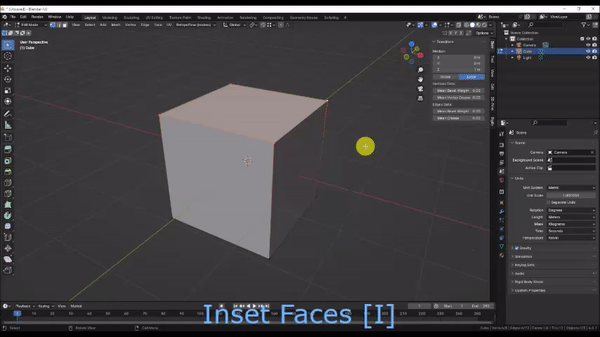
Inset Faces: Creates new faces parallel to each edge in the face selection.
Bevel: Splits selected edges into faces. You can scroll the mouse wheel to increase or decrease the number of faces. By default, adding additional faces will make the edges more rounded. You can also bevel a vertex by using the V key

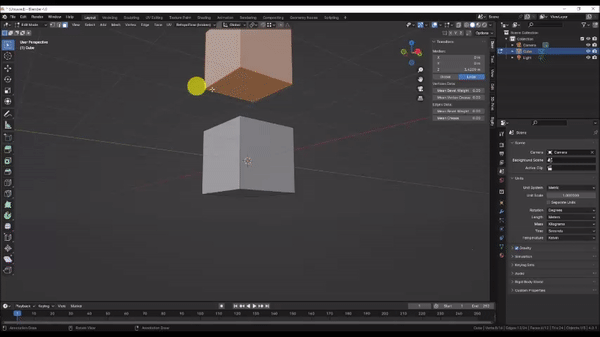
Duplicate: Creates a copy of the selection. Works for Vertices, Edges, and Faces. Using this command in Object Mode will duplicate the selected object(s).
Bridge Edge Loops: Automatically fills faces between selected edge loops, while eliminating any troublesome interior faces. For best results, both edge loops should have the same number of edges.
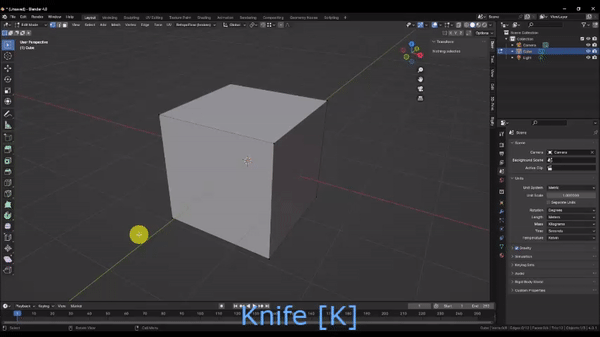
Knife: Cuts new edges into a face. You can snap to the midpoint of an edge by holding shift. Toggling C will allow you to project the cut through the entire mesh based on your viewing angle.
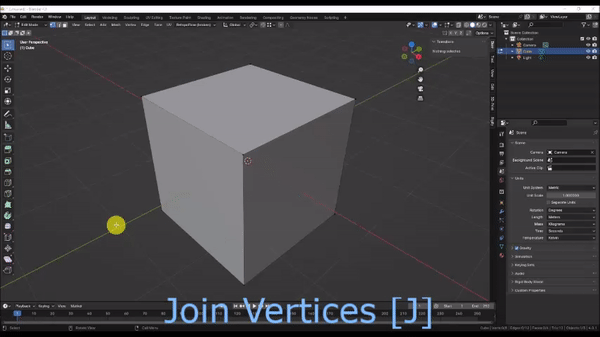
Join Vertices: Connects selected vertices with edges along the shortest path by cutting across edges and faces. Using this command in Object mode with two or more mesh objects selected will merge the geometry into a single, discontinuous mesh.
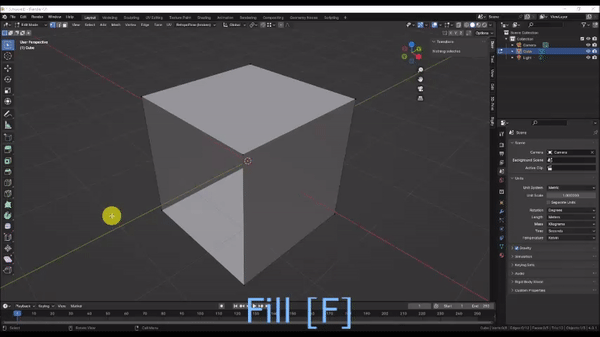
Fill: Connects the selection with new geometry. Works for Vertices and Edges. Note that unlike Join, Fill does not cut across existing edges and faces, which can lead to troublesome overlapping geometry. Fill should only be used to fill across empty space.
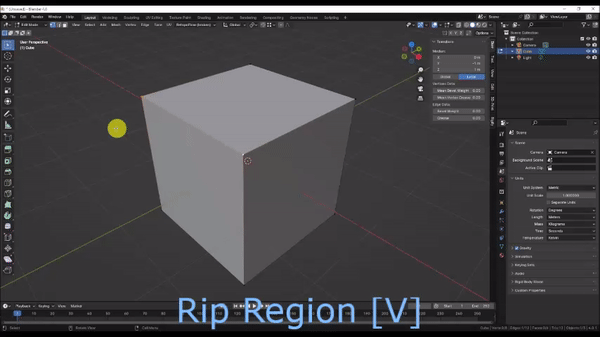
Rip Region: Separates all merged contiguous vertices in the selection. Note that vertices are separated immediately upon activating this command. Canceling the command will leave behind troublesome duplicate, non-contiguous geometry. You must undo the action to cancel the vertex separation.